Showing posts with label DIY. Show all posts

DIY Leather Essential Oil Diffuser

I'm a huge lover of our Essential Oils! We diffuse, inhale and wear them daily. One place that was needing a little EO love was our car. 
 I had some scrap pieces of leather that I knew would be perfect. 
 Use a leather whole punch and punch a small whole in location of choice.
 Add a round jump hook. 
 A little "believe" inspiration.
 And I used small cord jute so I will be able to attach it to the car vent/review mirror. 
 Leather is very porous and makes for a great carrier for the oils. 
(Make sure the oils you are using are tested for purity and quality and don't fall under the "therapeutic grade myth". The oils I use we get at wholesale and have changed our family day to day).
Hang on your car vent system or rear view mirror. 
Enjoy!
Pin It

DIY Canvas gather sign


Happy Thursday you all! 
The month of October has flown by for our family. Its been full of "fall activities" in the cattle men's world. Such a busy yet beautiful season.

Last week I shared how to make a fall table display. You can get all of the details and learn how to make your own HERE.
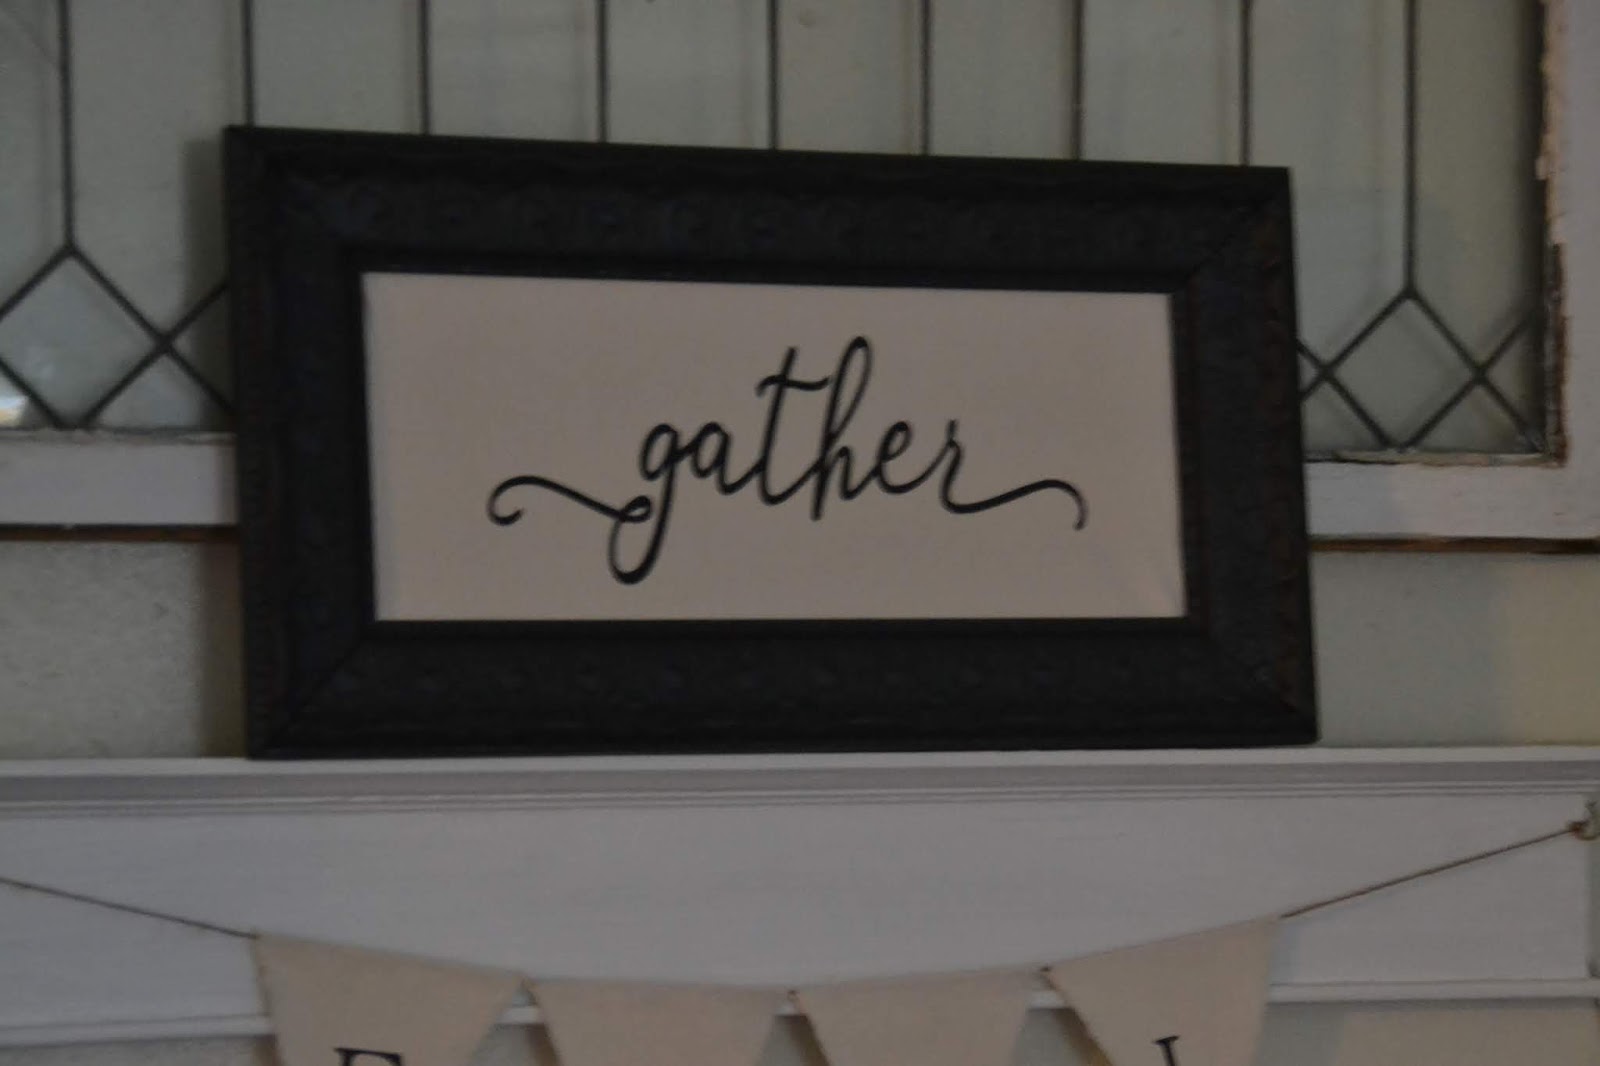
But did you see my super cute "gather" sign in the background? Its such a beautiful piece perfect for the fall season when lots of family and friends are gathered around our tables. 

 This project was super fun to do and cost very little. 
 I started with an old black frame I found at the Goodwill for a $1.99. Then painted it black with some paint I had on hand.
 I had canvas on hand from other projects I've made allowing me to cut out the expense of backing. Canvas is fairly in-expensive. You'll need enough to cover the back of your open frame. 
 Measure your canvas to fit in your frame and cut.
 Then use a staple gun to staple the canvas into place.
 Be sure that your canvas is tight within your frame.

I then painted on the word gather with chalk paint in graphite.
You will want to put a clear coat of wax over the top to protect your lettering.
I love the way this piece turned out! Perfect for over our table.


Wishing you a blessed day and weekend of rest!

Pin It

DIY LOVE Sign


We're weeks away from Valentines day! 
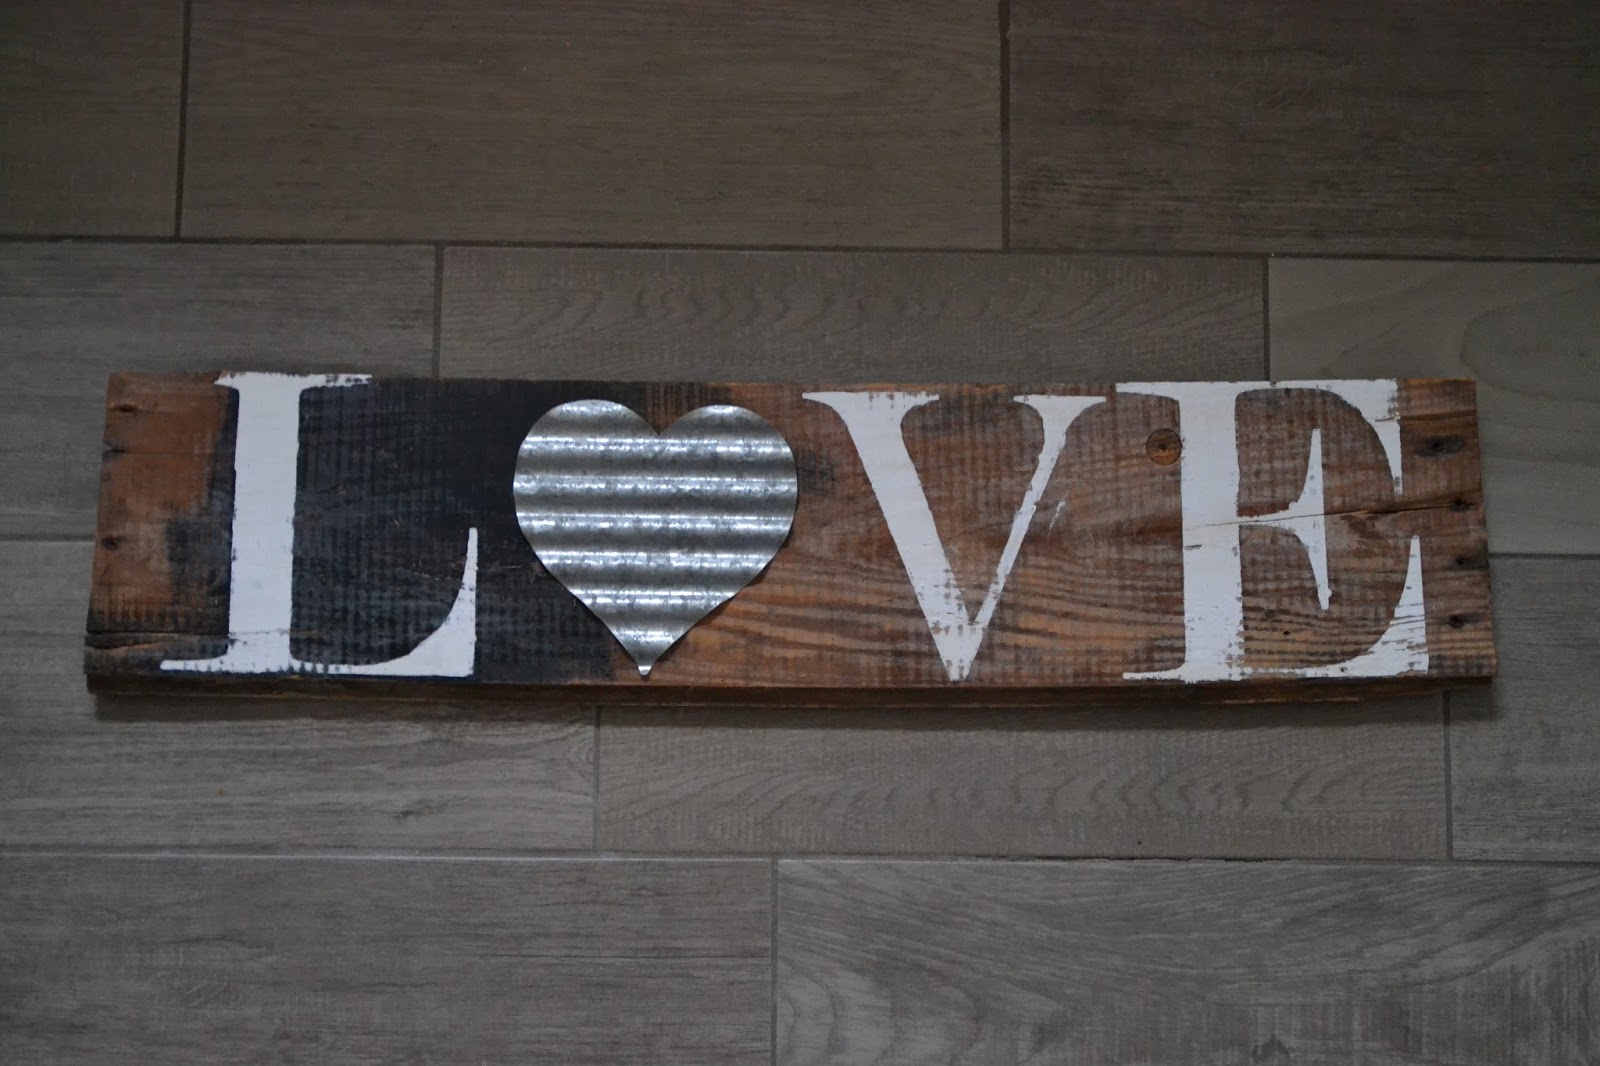
My house needs a little splash of seasonal décor so I made this LOVE sign and I LOVE it!!! 
Check out the step by step below so you can make your own. 

I started with a piece of used wood out of my scrap pile. This project can be made any size and honestly with any type of wood.

I have some stencils that I've used for other projects that I chose to use. If you don't have stencils you can purchase a pack at your local hobby store or print off letters of your size and style on card stock, cut the letters out and you will have your very own stencil. 

Then use white paint to fill your stencil. I used two coats on this particular project to get the desired look I wanted.

I then sanded the piece of wood after the letters had dried. I wanted this piece to look old and faded.

You'll notice I spaced out my letters enough to place my heart. 

 These adorable hearts we're purchased at my local Hobby store for under $5.00 each.
 Then glue your hearts into your desired placement on your sign and hang! Simple yet adorable! 
Pin It

DIY Gather Sign


Gather signs have been so popular lately and I wanted to create one that was unique to my style. Just love out it turned out. 

The Steps: 

 I started with finding this old frame that was in the back of our garage. I found it somewhere a long time ago and its just been sitting their waiting to be loved.
 This frame in particular is large, approximately 28" x33". 
I then cut 1x4s down to size.
 I then stained the wood.
 Dry brushed some white paint over the top once the stain was dry.
 Once the wood was completely dry I sanded.
 I then pained the frame black and sanded the edges to give it a rustic edge.
I attached the wood to the frame using wood glue and my nail gun.
 I purchased the word "gather" that had already been cut out of sheet metal and attached it to the wood with small nails.
 And I absolutely LOVE the way it turned out. 
Here's to a new season of decorating and creating a beautiful home!

Pin It

DIY Lip Scrub


 Ive been using Lip Scrub for sometime. And there are lots of fun ones out there on the market but they can come with a price tag. 

And that's why I wanted to share this easy DIY created with things all in our home.

Mix:
1/8 tsp sugar
1/8 tsp Fractionated Coconut Oil
1 drop Peppermint Oil
( Adding the peppermint oil will add a little extra natural plump to your lips).

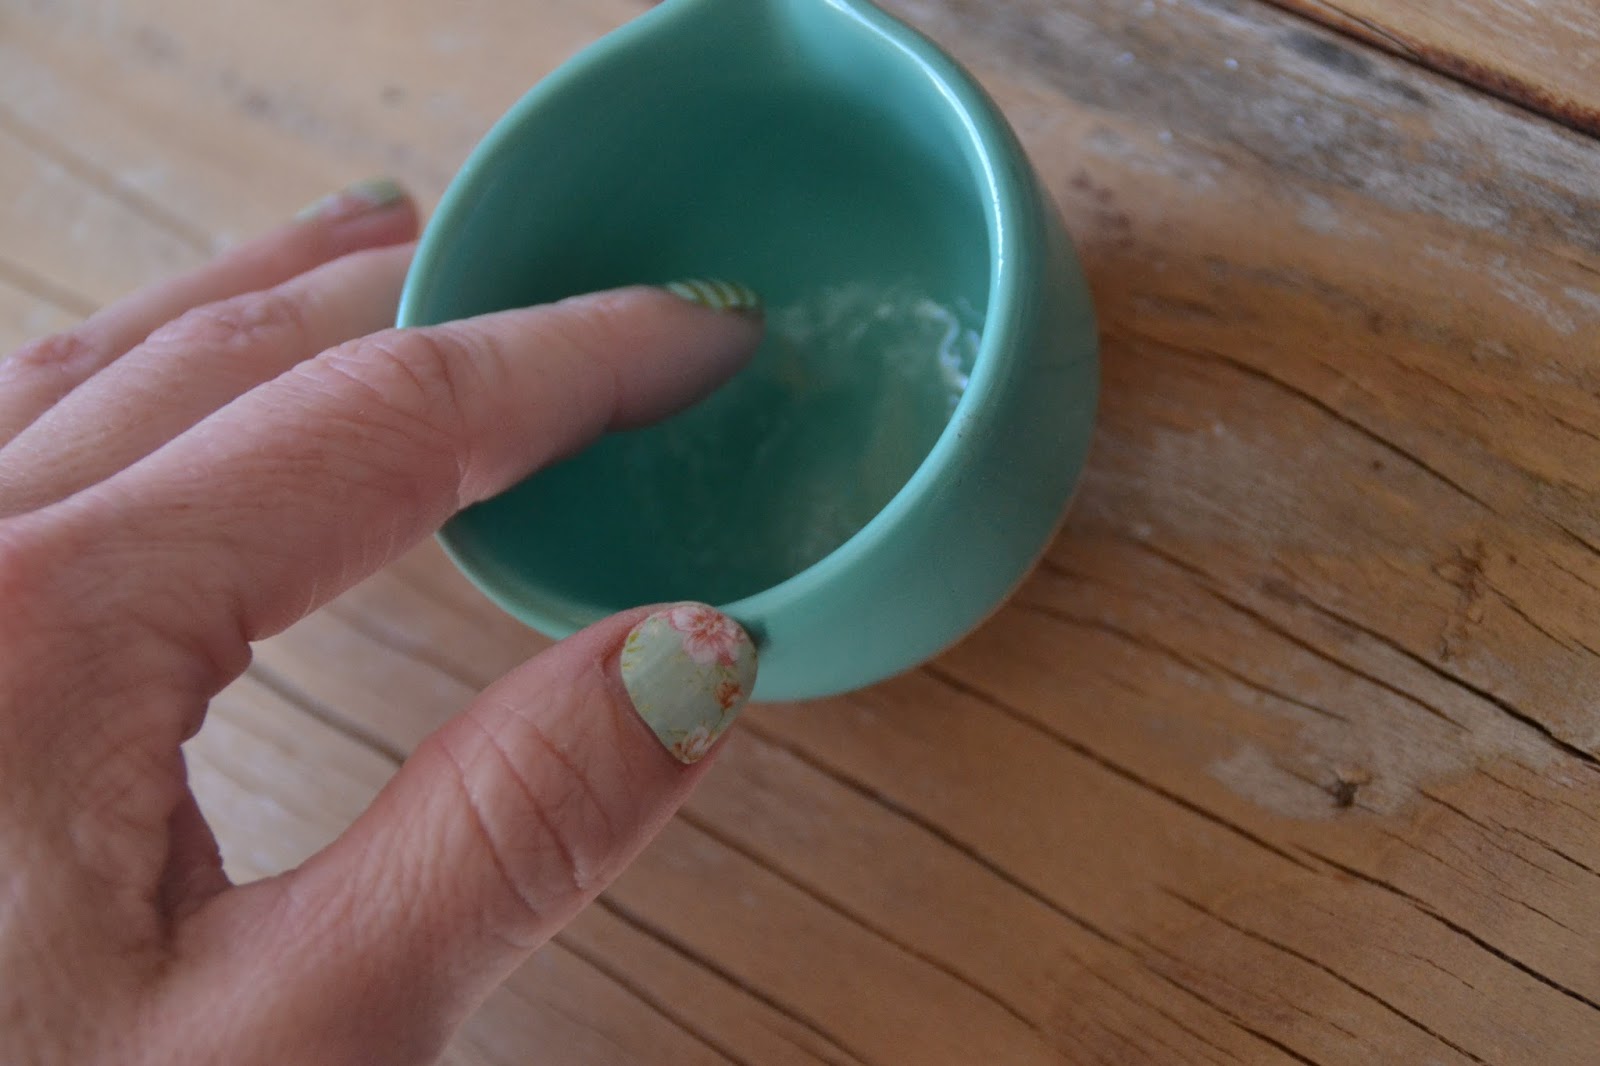
Mix all of the ingredients well. Then take a small amount on the end of your finger and scrub your lips generously with it.  (You can keep any left over in a small air tight container).
One of the biggest benefits to the scrub is getting rid of all of the dead skin cells that are on your lips. By removing the dead cells you'll have a much smoother finish to your lips when you apply your 
lip stain/stick/gloss. 


Looking for more info on Essential Oils and using them in your home? 
Reserve a virtual spot HERE and join this FREE webinar on Thursday March 2nd. 


LinkWithin

Related Posts Plugin for WordPress, Blogger... Follow on Bloglovin